
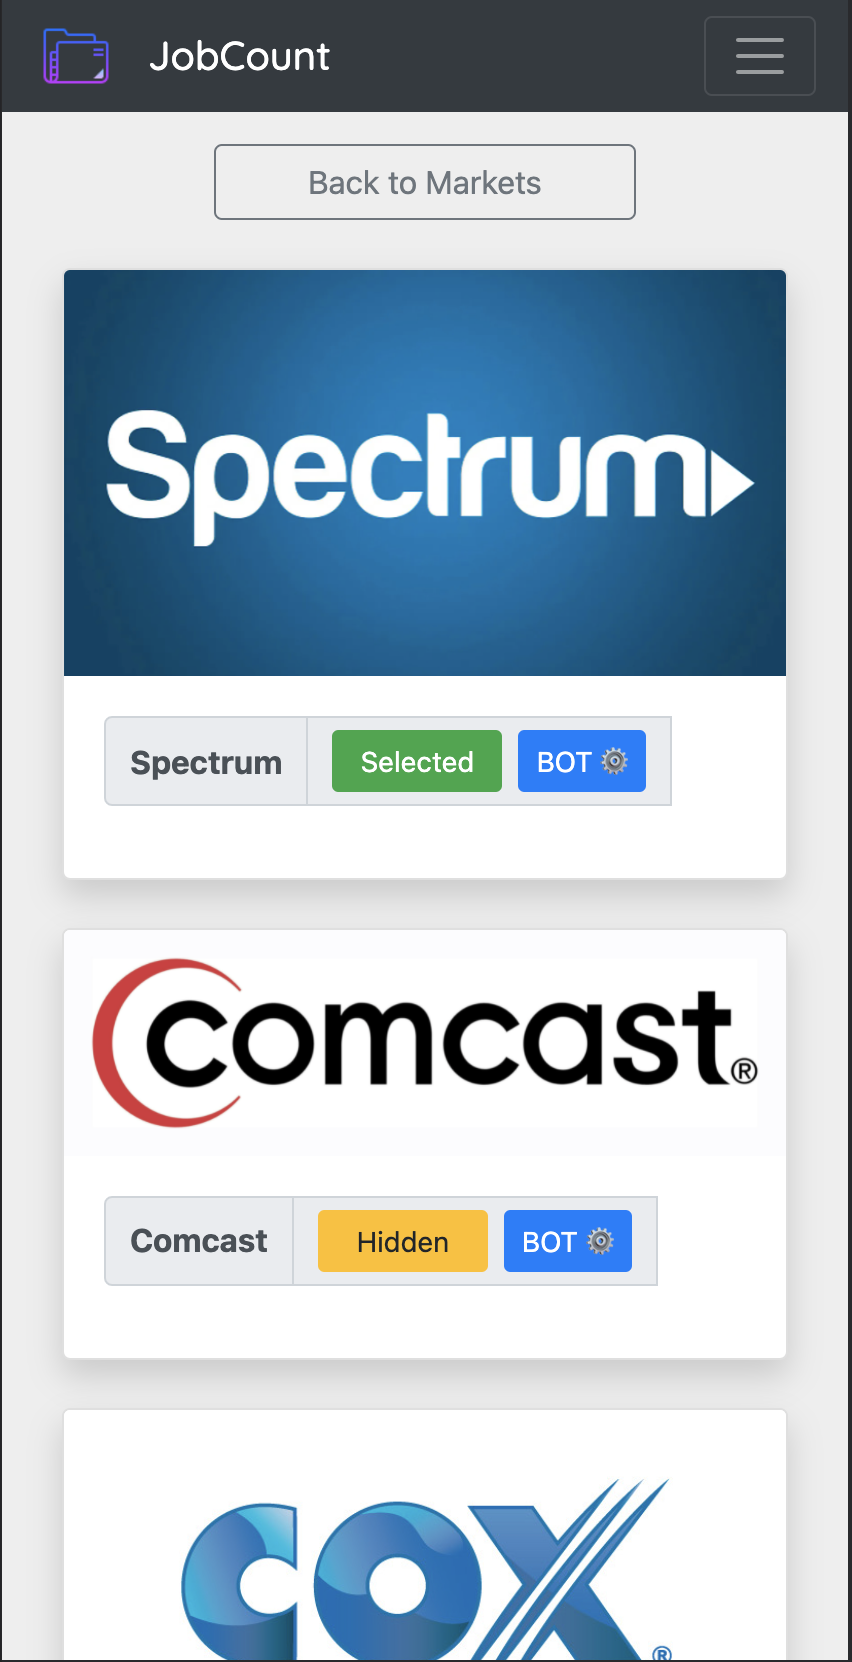
Upon registration system brings you to the market settings so you can choose which market to work with by toggeling the 'Hidden' or "Select" button. The most popular market names are already preset but you can also create your own market by scrolling
oll the way down the market settings page.
Then go to your selected markets by pushing the "Back to Markets" button. You can always go back to settings later by pushing "Market setting" button.
Then go to your selected markets by pushing the "Back to Markets" button. You can always go back to settings later by pushing "Market setting" button.
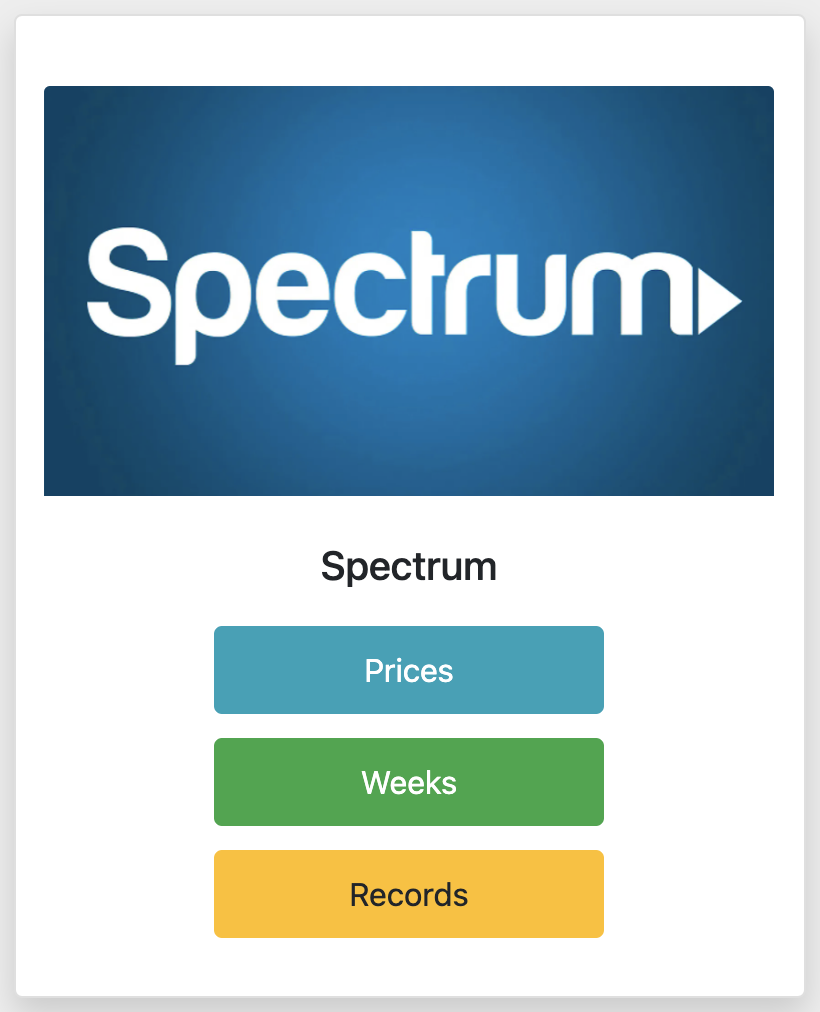
On the Markets page you'll see all the selected markets. Each market will have three fields to work with. Prices Weeks and Records. First go to prices and add your price list. Without the price list system won't be able to calculate your earnings. Please
notice: upon registration all the prices are set to '0' or the list is empty.
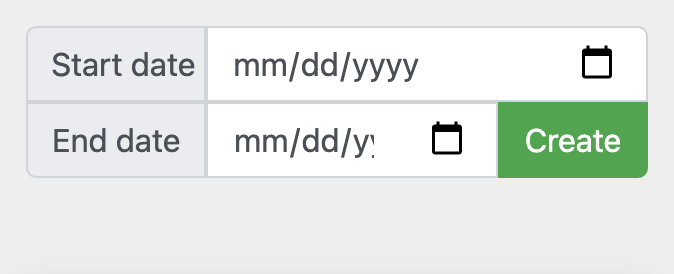
Push weeks. Depending on your payday and billing cycle select week's start and end date. Push create. Once the week is created push "Manage" button. Here you go! Now you are ready to keep track of your millions :)
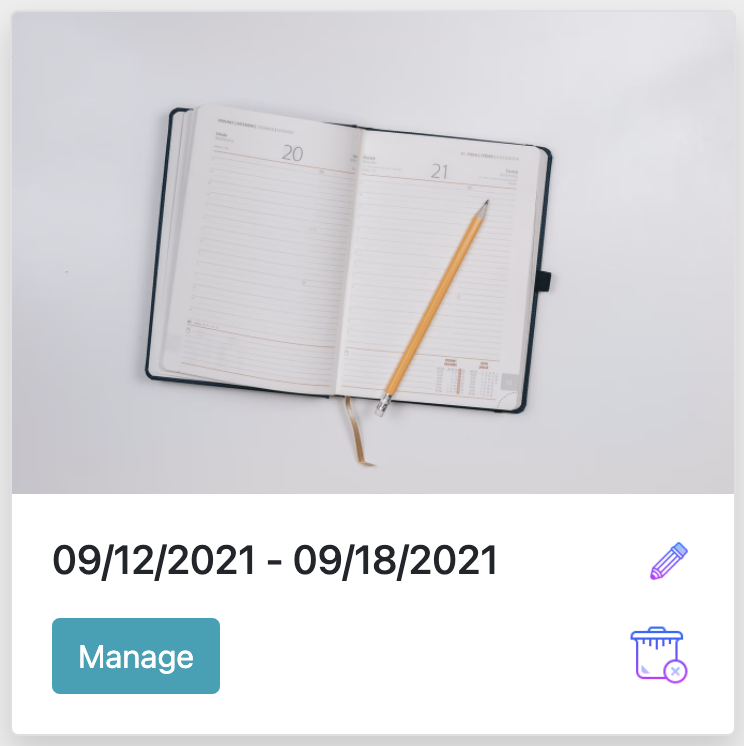
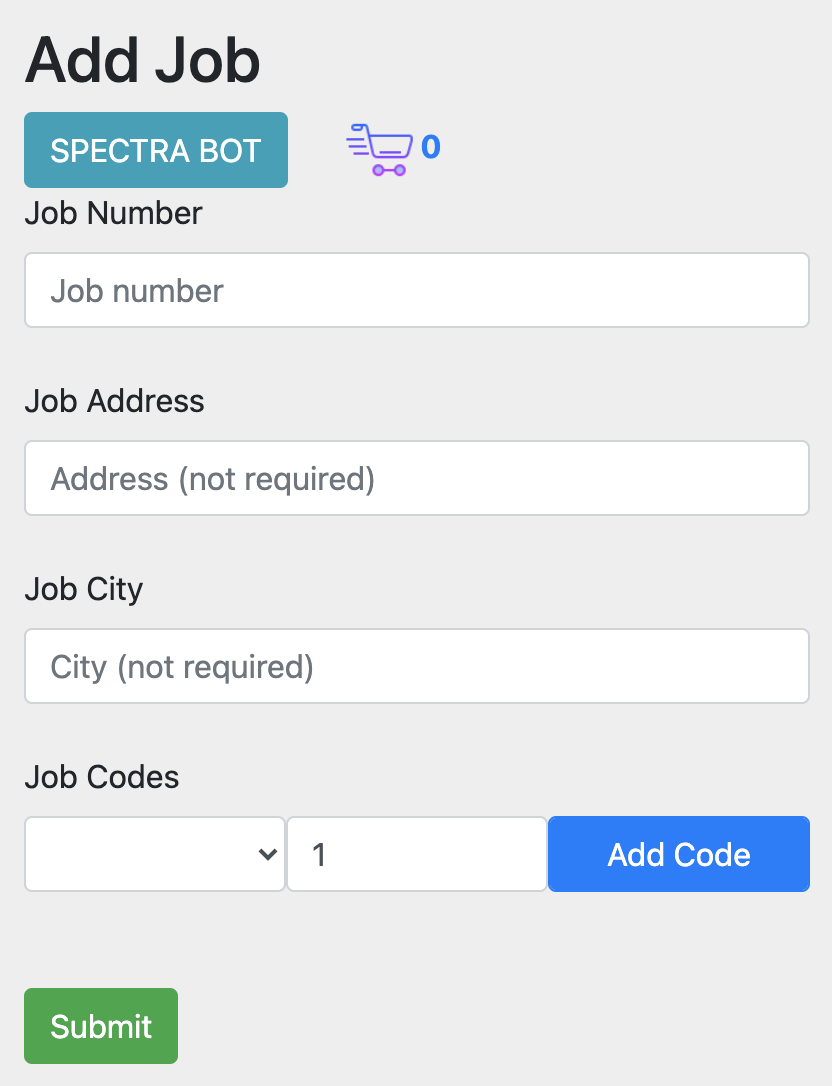
Select newly created week and add some jobs to it. Put in each jobs info, add nessessary codes from the list. The list consists of your pricelist, push submit. JobCount will calculate the price of the job as well as your daily and weekly earnings. If
you use Penguin or Spectra check out our Bot in the next section
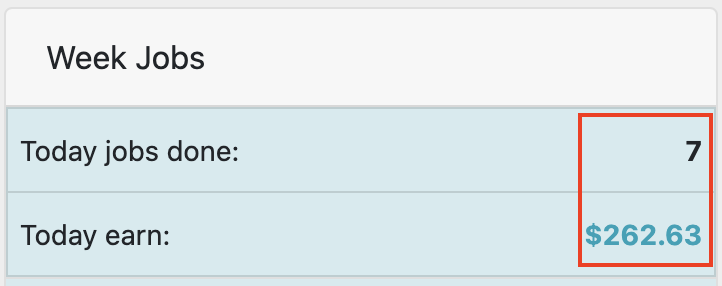
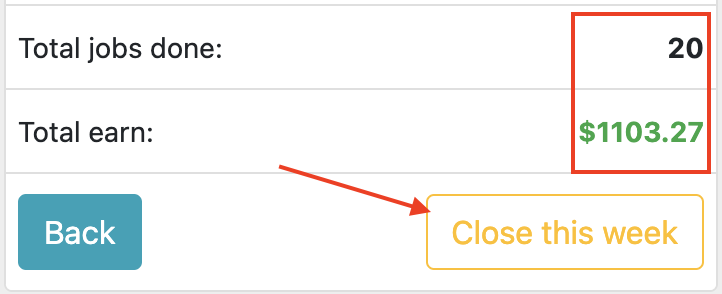
After adding each job your earnings will be recalculated. You can now see your dayly earnings as well as how much you earned this week and how much you still need to make to hit your goal! Push the "close week" button if today is the last day of your
working week. Enjoy:)

Go to Markets page and push "Market settings" button.
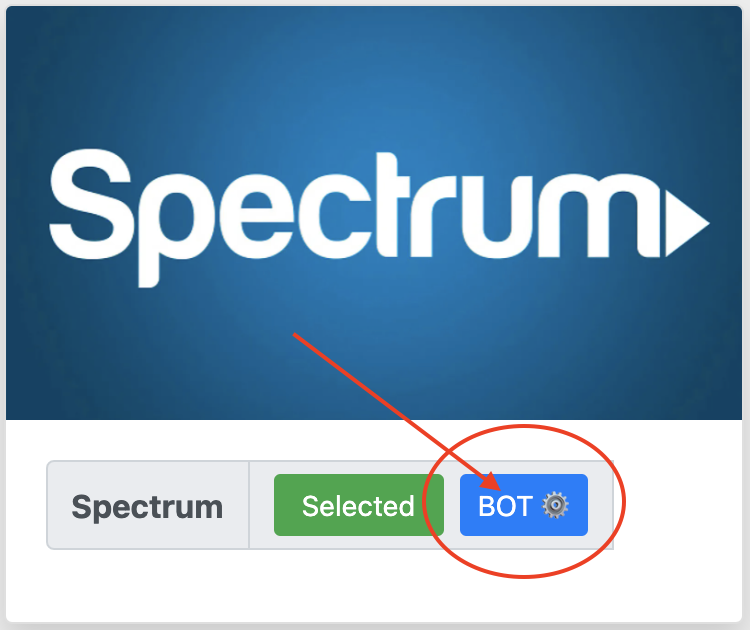
Currently we have a bot for two systems: Penguin website and Spectra website. Bot is available in Comcast and Spectrum markets. Look for a "Bot settings" button on your market card.
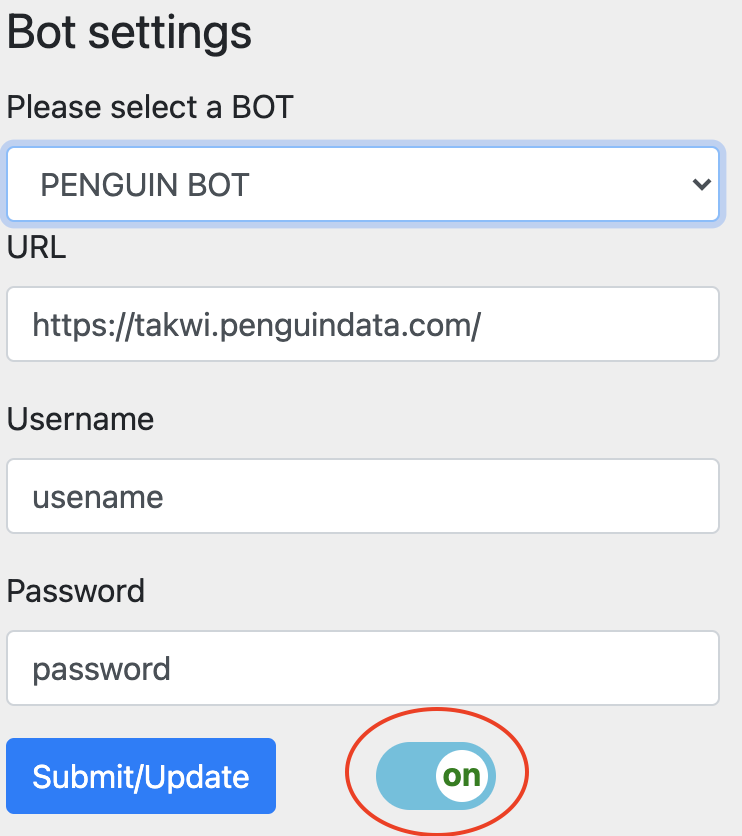
For penguin select penguin from a select box and fill out the form. Put the url to the log in page(http or https:// - please be presize) of the website where you close your jobs as well as username and password. Put the switch into on possition to enable
the bot and hit save!
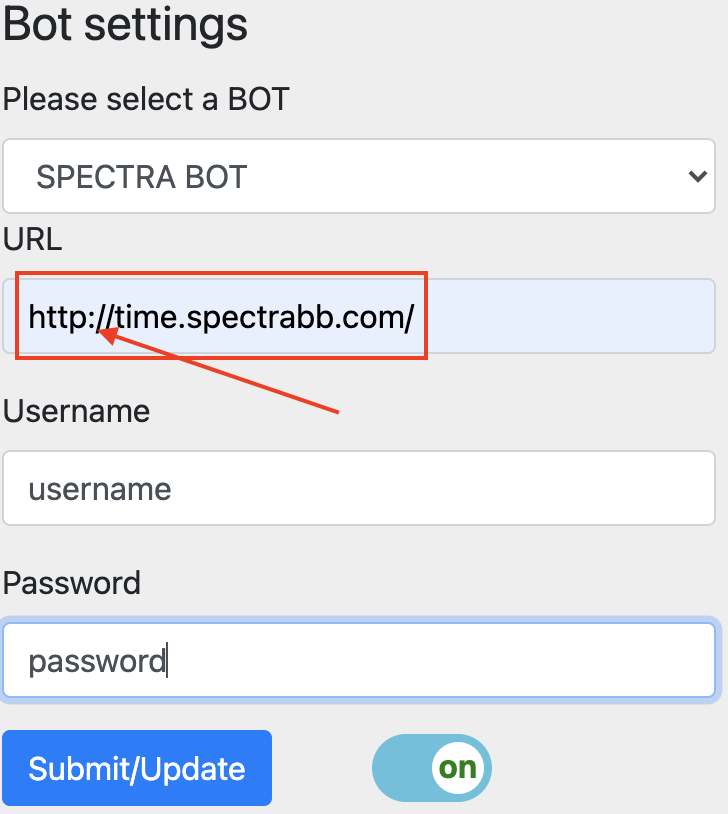
For spectra make sure its http not https - spectra doesn't support https. Provide username and password as well. Put the switch into on possition to enable the bot and hit save! Now you can relax, go back to your current
week and let the bot do its thing :)
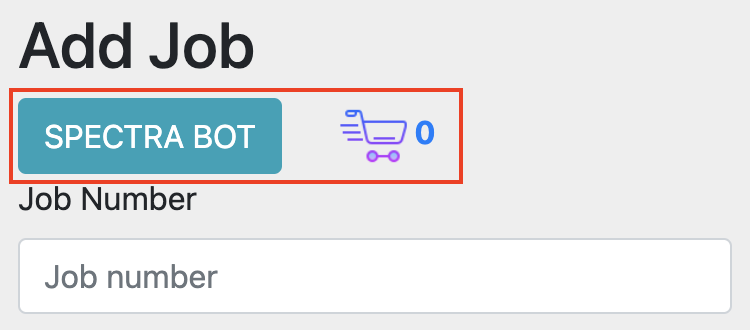
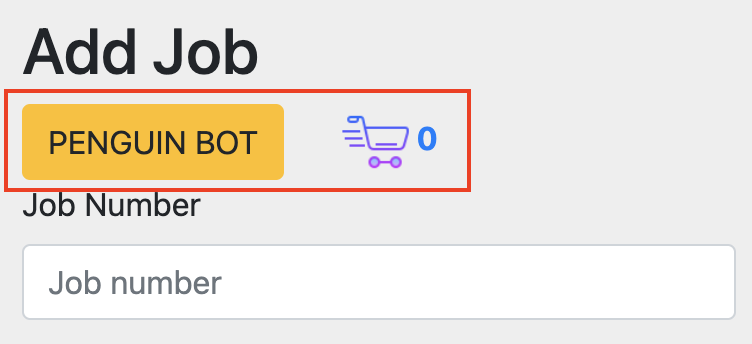
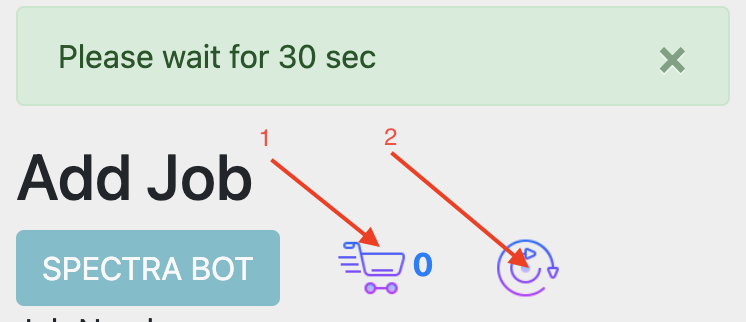
After enabling the bot go back to your current week and you'll see the button with the name of the bot. Push the button and let the bot do its thing. Check back in 30 seconds.
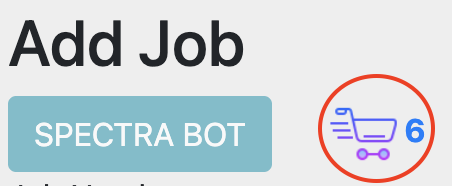
After refreshing a page in 30 seconds if the operation went successfully you will see a number of jobs the bot was able to pull up. Go ahead and click the cart icon.
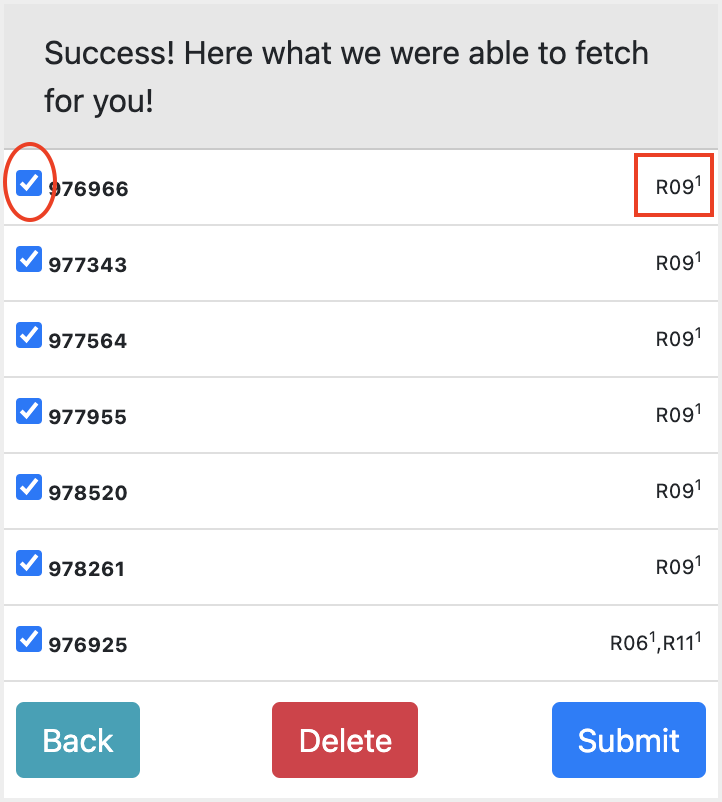

Here you can see what jobs were pulled up. Uncheck the checkbox if you don't need the job to be added to the week. Please notice: System will only calculate the earnings if job code here is an exact match
of the job code you set up in the market price list!!! Push submit if everything looks good :)
Now all the jobs are added to current week. You can now see your dayly earnings as well as how much you earned this week and how much you still need to make to hit your goal! Push the close week button if today is the last day of your working week. Enjoy:)